
Furnichews Upgrade
Here's a simple step-by-step guide to upgrade your pal's cage furniture. This process requires 5-10 minutes and a few basic tools.
Need tools? We've got what you'll need (except for the drill)!
If you need help, please contact us!
Remove Old Hardware
-

What you'll need:
- 2 Wingnuts
- Optional: Rag or glove (to protect your hands)
-

Step 1: Prepare for Upgrade 🤩
Remove wingnuts and washers from the bolts, and remove the cage furniture from the cage while upgrading the hardware.
Don't worry - it will be so much easier to put back in later!
-

Step 2: Friction Lock Wingnuts
Screw one wingnut upside down, leaving some space above. Screw on the second wingnut normally, and hand-tighten against the first to create a friction lock.
Tip: Use a rag or glove to protect your hands and get a better grip!
-

Step 3: Remove the Bolt
Firmly grip the bottom wingnut and turn counter-clockwise to unscrew and remove the bolt from the wood. If the wingnuts slip, tighten them and try again.
-

Step 4: Unlock Wingnuts (Optional)
Turn the two wingnuts in opposite directions to release the friction lock and remove both from the bolt. Feel free to re-use them elsewhere!
Install New Hardware
-

What you'll need:
- Furnichews Upgrade Kit
- Drill (3/8″ chuck min.)
- 9mm Drill Bit - We've got it!
- M6 (6mm) Hex Key - We've got it!
- Optional: Non-toxic Wood Glue (Titebond II or III)
-

Step 1: Check Drill Depth
Use the threaded insert to estimate drill depth (14mm, or ~1/2"). If you're unsure, start shallow, then drill deeper as needed to fit the edge of the insert snug with the surface of the wood.
-

Step 2: Drill Holes
Using the 9mm drill bit (3/8" works in a pinch), carefully drill into the original bolt hole. Keep the drill as straight as possible to avoid over-widening the hole.
-

Step 3: Install Threaded Insert
Use the M6 (6mm) hex key to drive the threaded insert into the hole. The top of the insert should sit snugly over the edge of the hole, and should be barely hand-tight.
Tip: Usually it is not necessary (the washer will help keep it tight!), but if the insert is very loose, you can apply a small amount of non-toxic wood glue inside the hole first. We recommend Titebond II or III.
-

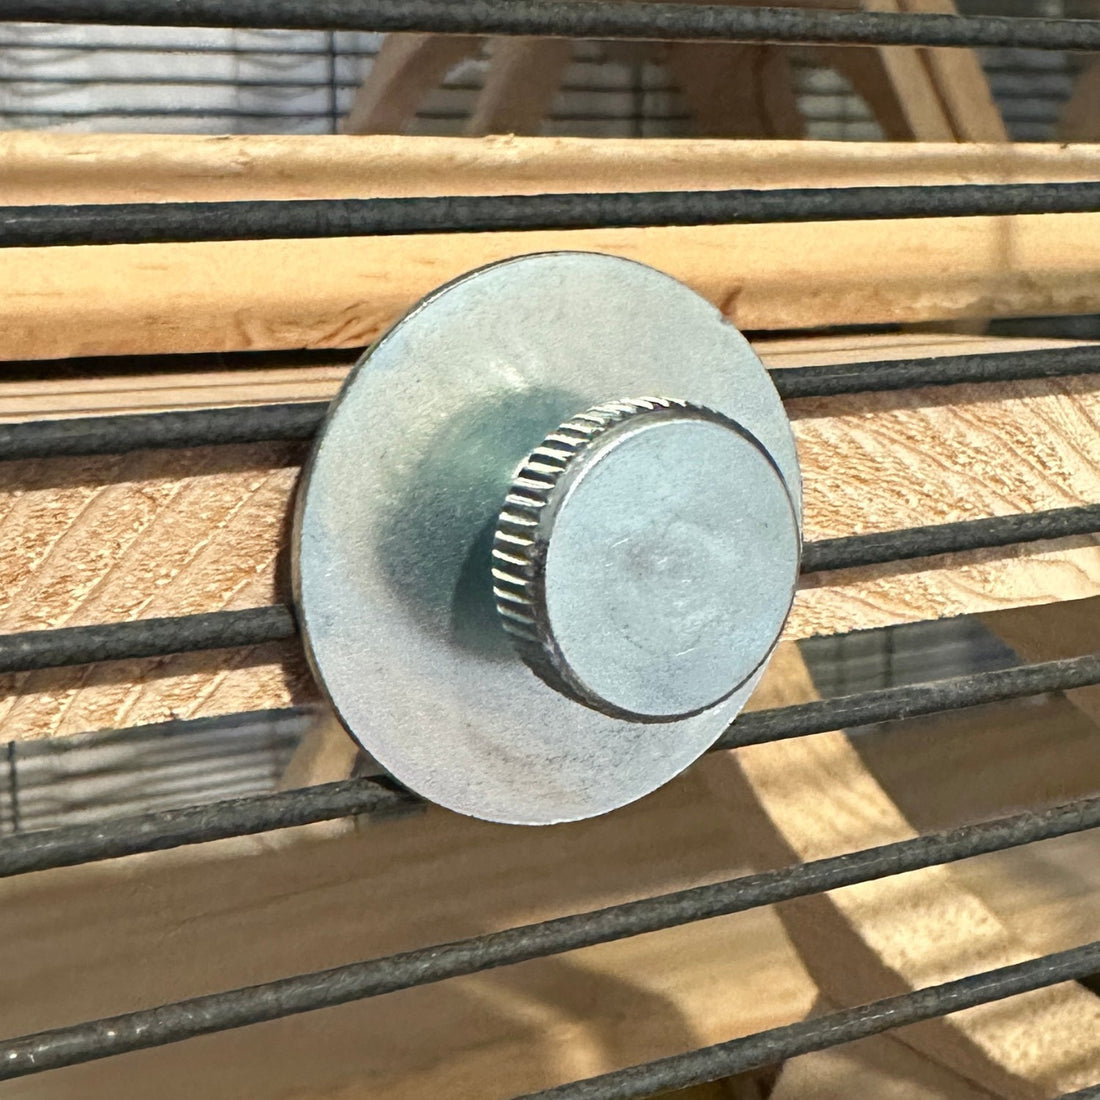
Step 4: Reinstall & Let Your Pals Enjoy! 😎
Reinstall the cage furniture in your pal's home with washers and thumb screws. You're all upgraded and ready for action!